
In a way, this event exemplifies everything I think these one day stand-alone programs can be: no matter what you might see, you don’t have to spend a TON of money and endless staff hours creating something that looks like it came out of a party planning book. You don’t have to limit attendance just so you’ll have enough dowels or can provide elaborate party favors as if at a children’s party. We invite everyone in and work with what you have! You can have events like this on small budgets, using upcycled material or cheaper supplies like … sequins. It’s not about making it look like Pinterest or Martha Stewart. It’s about opening up the library as a place for families to create and make and showing kids, with no judgment and great enthusiasm instead, that we have piles and piles of the books they love and know about ones they haven’t even heard of yet. That’s the most important part and it’s worth everything.
Which one is your favorite? I think mine is Lara the Black Cat Fairy because FOR SOME REASON this is in the Magic Animal Fairies series even though black cats aren’t actually magical and the other fairies in that series are, like, unicorns and phoenixes! And how is there even also a series about PET fairies. I mean …
Well, I guess that sums up why we decided to have this event. Because we have shelves of the darn things, because kids check them out in stacks literally up to their eyes. Because they are great safe chapter books that build confidence and passion in kids which helps them become dedicated readers. BECAUSE RAINBOW MAGIC FAIRIES, come on.
This was one of the VERY FIRST programs we ever did as a single stand-alone the summer we started making a big switch to them. THAT turned out to be one of our greatest learning experiences – we scheduled it for two hours and we quickly learned that’s FAR too long for these events! We scaled them down to an hour after me and my co-worker Melissa spent 2o minutes dancing in a circle doing a song Melissa made up on the spot (“The Fairy Hokey-Pokey” – put your wings in, put your wings out!) to kill time. So, since it had been a few summers, we decided repeating Rainbow Magic Fairies as a stand-alone was OK. Here’s what we did!
20 minutes of story
 As you probably know, all of our events start off with a story. It’s why we’re all there, after all, and it gives us a chance to come together as a group and talk about books and all the neat stuff the library has. When it comes to bigger properties/characters, I like to focus on a SPECIFIC title because it makes it easier to tie everything together and really focus on something. We lucked out with Rainbow Magic Fairies because at last there are beginning reader titles! Jackpot for reading out loud, baby!
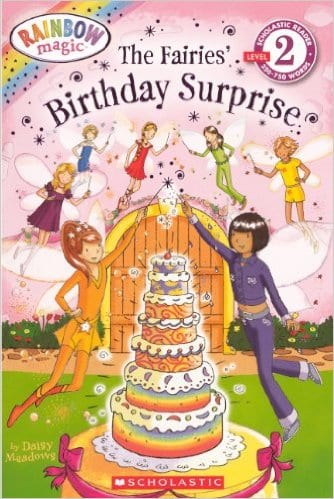
I chose The Fairies’ Birthday Surprise because … uh they make a cake in it? I knew we could have an easy/all ages craft station for a cake. And I loved that at the end, they cut into it and it was ALL colors, wheee! Simple predictive text that satisfied the kids when the inside of the cake was revealed. (if you don’t have these readers, there’s five all together, I highly recommend them and they’re worth every penny of the library binding.)
40 Minutes of Activity
At almost all of our events, we include a look and find scavenger hunt around the youth services area. This is a good way to keep our active kids moving and it splits up the crowd. We print out 10 images related to our theme and hang them up around the library and send kids out with a sheet to look and find for them. I always recommend having this as an activity – it’s simple and the kids loooovveee it. We chose the seven fairies from the book and three ingredients to make cake (see the theme’s usefulness?)
We also usually have some kind of activity station – a bean-bag toss or knock-over or a balance relay but we decided the look and find would be enough for this one. (especially since there was no mention of Jack Frost in this reader, but if you did a knock-over station, it’d be easy to do Jack Frost/icicles as targets.)
We had three craft stations and a photo booth (we love photo booths, if you have the space I always recommend throwing one up, it’s a great way let patrons share/spread word about your events FOR you.)
Station One: load up muffin tins with pony beads – make sure you have some cool ones mixed in like pastels and glow in the darks – and have the kids make themselves rainbow necklaces and bracelets as their hearts dictate. This is always a popular station. It’s also gotten a lot easier since my colleague Melissa came up with the genius idea to set it down on the floor. No more kids crowding around a table as pony beads roll to the ground and then they chase after then. Now we all sit down on a sheet (to contain them all) and relax and bead. Super-easy change that makes a big difference, even in the vibe.

(yes there are boys down there beading because of course there are, because of course they came, because all kids like beaded bracelets and did I mention there were glow in the dark beads?)
Station Two: make your own wands. BUT we never do registration for our events, so we’re never sure how many people will show up. So I wasn’t going to invest in a ton of dowel rods to make wands, which is a common thing you see. Besides, we have tons of material (specifically calendars – I love old calendars!) waiting to be recycled so why not use those?
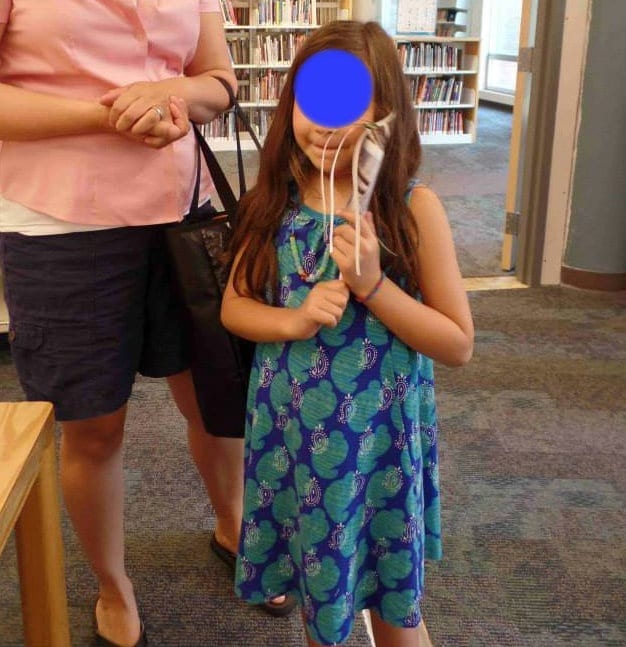
We let kids choose their own pieces of calendar paper and then, starting at a bottom corner and rolling tightly, we rolled it into a wand. If you look at this tutorial, we used these basic instructions. We used glue sticks instead of two side-tape and we stopped at the part where she starts hot glue-gunning. Using the calendar paper was decoration enough. We used some of our fancy scissors to cut other calendar pages into rickrack and included some strips of ribbon which we let the kids glue inside to give them something fun to swish around. They loved it, of course. Lots of swishy. The stiffer calendar paper made the wands more substantial, which lead to a lot of fun. And since they weren’t stereotypical princess wands, everyone felt comfortable making them. Most of the pics we got of them were actually in action, but here’s an OK shot of one. (note beaded necklace)
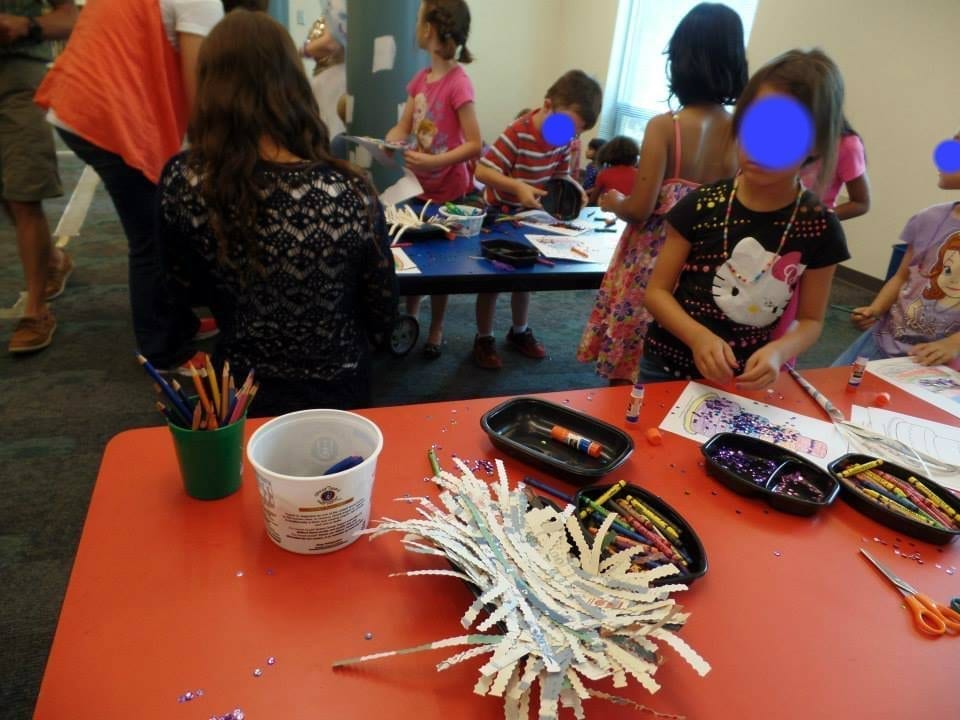
Station Three: here we are, back at the theme with a decorate your own cake! I found a free coloring page that looked like a delightful, giant cake and we put out sequins, more of our homemade rickrack, colored pencils, and crayons and let the kids go to town. If you look at the little girl in the Hello Kitty shirt you can see a pretty typical cake in process. And if you look to the back at the little boy in the stripes is literally pouring an entire container of sequins on his cake. He couldn’t even pick it up. Ah, library magic!
I also put out some Rainbow Magic coloring pages at this station, since it felt like a good place to have coloring and creating. Here’s what the cake I chose actually looked like – the layers made it perfect for decorating and it EVEN looked a little like the cake in the book! 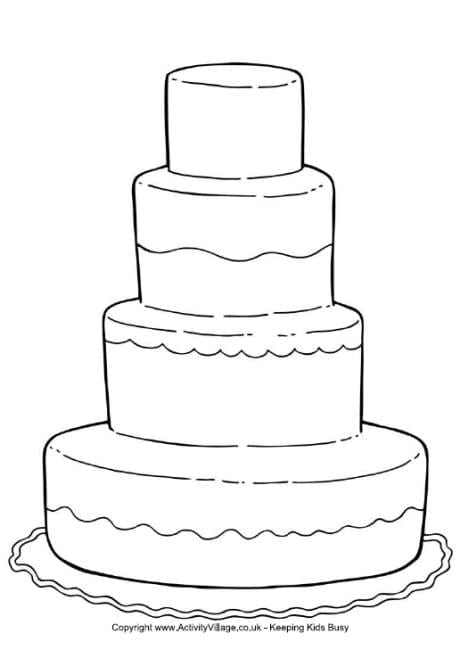
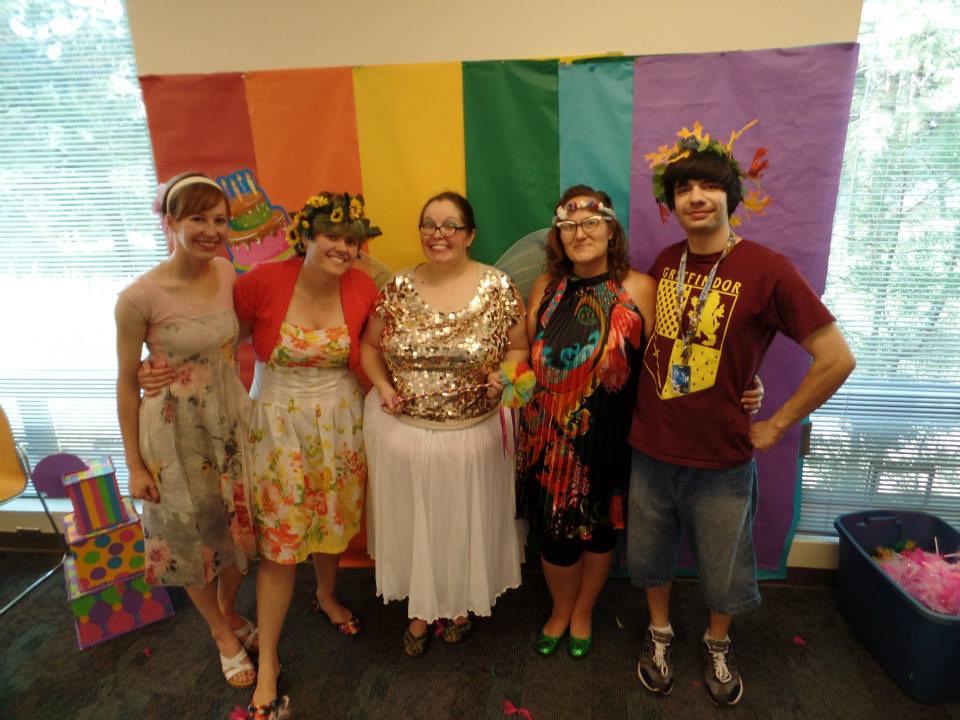
We had about 35 kids and assorted grown-ups attend and everyone loved it. I made a big display of FOR FANS OF RAINBOW MAGIC! books and they all got checked out. We’d definitely do it again, but we might wait a summer or two to put it back in rotation. As per usual, it could have never happened without my fantastic staff, who dressed up and were game for everything! (and yes, in case you can’t tell, I am obviously wearing wings.)
Are there any questions about our event I didn’t answer? Let me know! Have YOU had a Rainbow Fairy Magic event at your library? I’d love to hear all about it! What books did you read? What crafts did you make? How did your patrons react? Did you make a read-alike table (what could read as wonderfully as these masterpieces?) and if so, what other books did you share? I want to hear all about it, so share in the comments or chat with me on Twitter!

I completely agree with your programming philosophy!
Here’s what I did for my Rainbow Magic Party: http://literarylibrariankim.blogspot.com/2013/11/flowers-and-glitter-glue-rainbow-magic.html
I’ll admit that I did spend a little money on the flowers for the flower crowns, but everything else was done either very cheaply or from raiding our craft supply closet.
Yes! I DID have a Rainbow Magic Fairy party a couple years ago! I love all of your ideas, so simple and fun. Ours was a little too froo-froo (is that a word? You know what I mean…) because we made flower crowns and while they were beautiful, it took forever and it took LOTS of grownup help (fake flowers wrapped around a headband with florist tape). But, the other thing we did that I thought worked really well? We stood in a circle (there were only 15 kids) and chanted “If You See a Fairy Ring” poem together. Then, I had them rotate the circle (Ring Around the Rosie-style) and while they chanted I sprinkled glitter (fairy dust!) on them. I’m sure the parents hated it, but it was magical! It got everyone in the spirit.
Would love to see a couple more examples of what the wand looked like. And did the glue sticks hold immediately, or did you have to hold it together for several seconds?
Brilliant idea to do beading on a sheet.
I did a Rainbow Magic Party as my first ever program. We made wings out of posterboard and ribbon. The kids decorated them with markers, sequins, foam pieces. We also made wands from dowels, foam stars, glitter glue, sequins. We did have a cute photo booth which the kids loved. We also made flower crowns from rolled up grocery bags, ribbon and flowers that I picked up from the floor and bins at JoAnn’s, Hobby Lobby, and Michael’s (yes, I looked like a fool, but the manager at each store said it was fine, so I got a TON of flowers for free). I did a scavenger hunt with pictures from items in the books and they got a pixie stick at the youth desk when they found all the pictures. I also created a playlist with a bunch of ballet/classical music and we all danced around. I included Let It Go, which we played a million times. It was a very successful program, but a ton of work for me. I think I also had cookies and lemonade for them to snack on. We had probably 30-40 kids come.